
Testing standard
ASTM C297 Flatwise Tensile Testing of Sandwich Constructions
Standard Test Method for Flatwise Tensile Strength of Sandwich Constructions
Written and technically reviewed by Dak System Inc. engineeringLast reviewed
ASTM C297 measures the flatwise tensile strength of a sandwich construction — how much load the panel carries through its thickness before the core or the facing bond lets go. The specimen is bonded between two stiff loading blocks and pulled apart. The failure mode matters as much as the number: a core failure and an adhesive failure mean quite different things.
At a glance
- Test type
- Tensile — the specimen is pulled apart
- Published by
- ASTM
- Edition
- C297/C297M-16
- Material
- Composites & sandwich structures
- Runs on
- Series 7200 and Series 9000
From the test method to your testing system
Explore DAK equipment for ASTM C297, then review the specimen and setup requirements below.
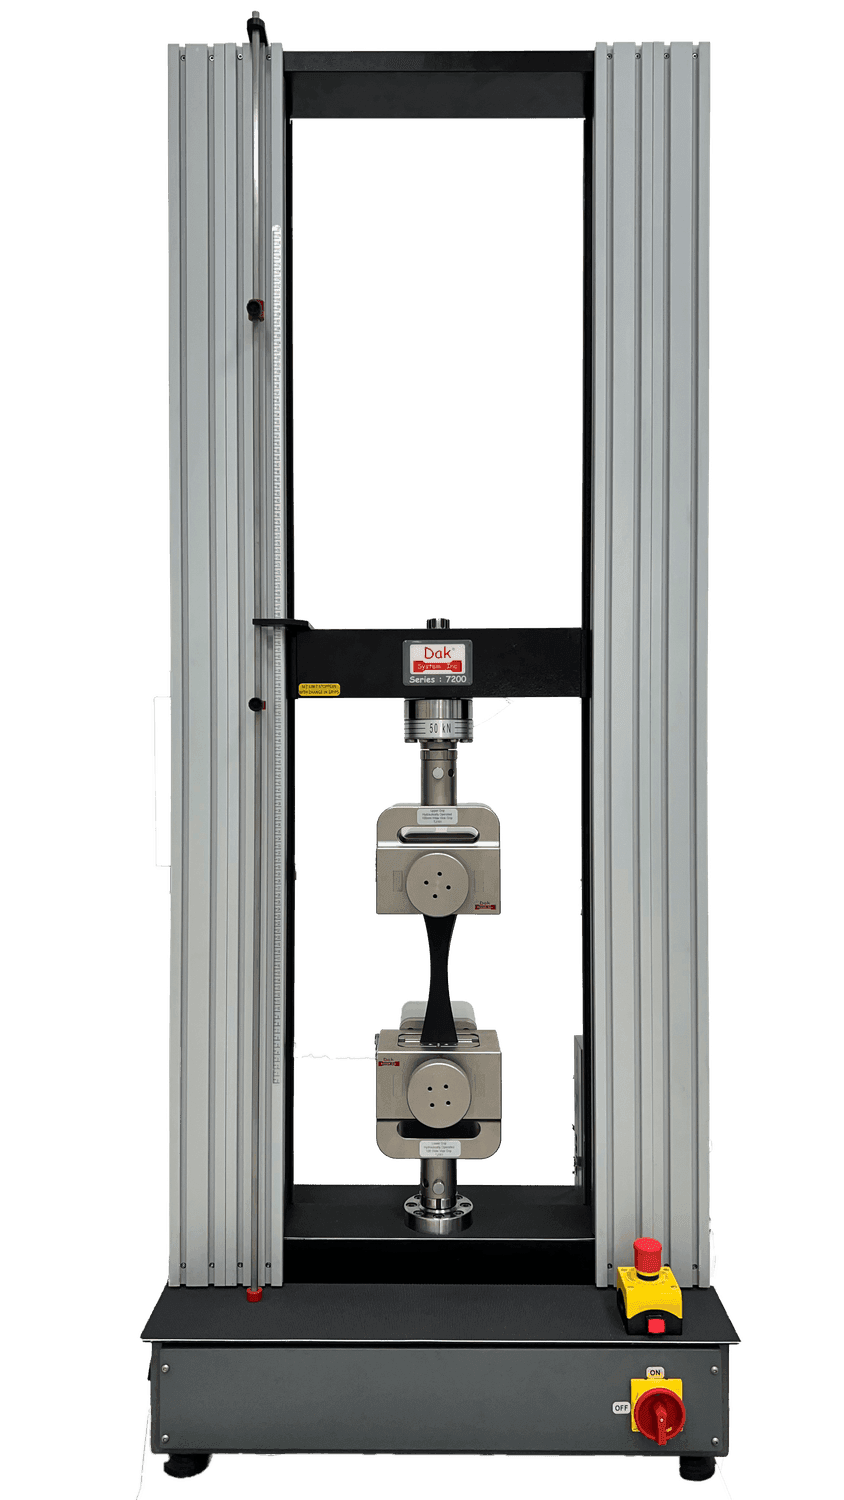 Universal Testing MachineSeries 7200Explore the machine →
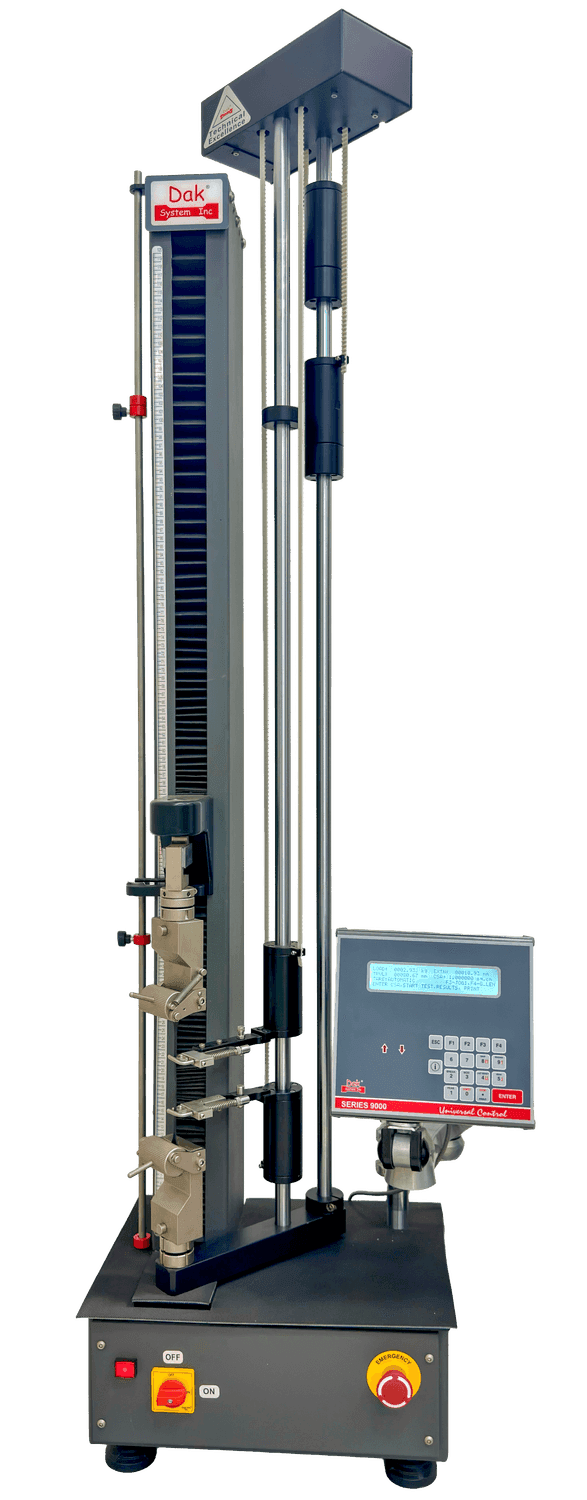 Universal Testing MachineSeries 9000Explore the machine →
Jump to a specific section
01Understand the method
What the test does
A specimen of the full sandwich thickness, most often 50 mm square, is bonded between two thick and stiff loading blocks using an adhesive chosen to be stronger than the load the specimen will fail at. The assembly is fitted to the testing frame through universal joints at both ends and pulled apart through the panel thickness at a rate that produces failure in roughly three to six minutes. The maximum force is recorded, and the broken specimen is then examined to establish where the failure actually occurred — inside the core, at the bond between core and facing, or at one of the loading blocks.
What it measures, and why it matters
The result is flatwise tensile strength, and alongside it a classified failure mode. A sandwich panel works by holding two thin stiff facings apart with a light core, and the entire structural idea depends on that connection surviving. Through-thickness tension appears wherever a facing is being peeled away: around inserts and fixings, at panel edges and closures, under impact damage, and where moisture or thermal cycling drives the facings apart. Flatwise tensile strength is the property that governs all of these. The failure mode carries as much information as the number, because core failure measures the core material while interfacial failure measures how well the panel was made.
02Prepare the specimen and test settings
Specimen and loading blocks
The specimen is easy to make and easy to ruin. Almost every requirement here exists to make sure the load arrives as pure tension and that the bond to the blocks is stronger than the thing being measured.
- Common section
- 50 × 50 mm square, or 50 mm diameterLarge enough to contain a representative number of honeycomb cells.
- Thickness
- Full panel thickness, both facings intact
- Loading blocks
- Thick and stiff, bonded to both facesA block that bends puts peel at the specimen edges instead of uniform tension.
- Block adhesive
- Stronger than the expected failure loadIf the block bond goes first the test has measured the block adhesive, and the result is discarded.
- Alignment
- Universal joints at both endsThe single most important requirement. Any eccentricity puts bending across the specimen and it fails early at one edge.
- Cut with a fine blade or water jet
- Not a coarse sawDakA torn cell wall at the edge is a starter crack in a core that carries load through very thin walls.
- Cure the block bond fully
- At the adhesive's stated scheduleDakA partly cured block adhesive is the commonest cause of a discarded specimen.
The failure mode is part of the result, not an observation about it. Core failure gives the core's flatwise tensile strength; failure at the facing bondline gives the bond strength; failure at a loading block gives nothing at all.
Test speed
- Rate
- Chosen to fail the specimen in about 3 to 6 minExpressed as a target time rather than a fixed speed, because panel stiffness varies enormously.
- Typical crosshead speed
- Around 0.5 mm/minPractice
- Load smoothly from zero
- No preload seating jerkDakA thin core is easily damaged before the test starts.
03Build the test setup on a DAK machine
What the machine must be capable of
Force measurement to ASTM E4 across a range that runs from a kilonewton or so for a light honeycomb to tens of kilonewtons for a dense foam core, and a slow controllable crosshead — around 0.5 mm/min is typical. The demanding requirement is not force but alignment. Self-aligning couplings at both ends of the load path are effectively mandatory, because the specimen is short and stiff in this direction and any eccentricity becomes bending across the section. Bending concentrates stress at one edge and produces an early failure that describes the fixturing rather than the panel. The frame also needs enough daylight to accommodate two thick loading blocks and their couplings.
Running ASTM C297 on the Series 7200 and Series 9000
Dak verifies against whichever standard the method names, and where a class applies our frames sit a class tighter than it asks.
| The method asks for | Dak supplies | |
|---|---|---|
| Capacity | Low to moderate — a 50 mm square specimen of honeycomb core commonly fails between 1 and 15 kN | Load cells from 1 kg to 60 ton on the Series 7200, and 0.5 to 100 kN on the Series 9000 |
| Force accuracy | ASTM E4 | Verified to ASTM E4, and to ISO 7500-1 Class 0.5 |
| Gripping | Self-aligning loading blocks bonded to both faces, coupled to the frame through universal joints | Wedge, vice-action, pneumatic and hydraulic grips, built to the specimen |
| Environment | Standard laboratory atmosphere unless the specification calls for conditioned or elevated-temperature testing | 3009 series chambers, −150 °C to +400 °C — temperature only |
04Run the test
How the test runs
- Cut specimens with a fine blade or water jet, full panel thickness.
- Measure the bonded area on each specimen.
- Clean and abrade the facing surfaces and the block faces.
- Bond the specimen between two loading blocks with an adhesive stronger than the expected failure load.
- Cure the block bond fully to the adhesive's schedule.
- Fit the assembly to the frame through universal joints at both ends.
- Check for any visible eccentricity before loading.
- Load at a rate giving failure in about 3 to 6 min.
- Record the maximum force.
- Examine the fracture and classify the failure mode.
- Discard any specimen that failed at a loading block.
05Calculate, report and interpret
Calculations
σ = Pmax / A
- Pmax
- maximum force, N
- A
- bonded cross-sectional area, mm²
Area is the bonded area, measured on the specimen rather than assumed from the nominal cut size.
What the report has to contain
- Reference to ASTM C297 and the edition
- Panel identification — facing and core materials, core density and cell size
- Specimen dimensions and measured bonded area
- Loading block adhesive and cure schedule
- Conditioning and test atmosphere
- Loading rate and time to failure
- Maximum force and flatwise tensile strength for each specimen
- Failure mode for each specimen, classified
- Number of specimens discarded for block failures
- Mean and standard deviation
What goes wrong in practice
Three problems account for most discarded specimens. The first is a loading block that debonds before the specimen does, almost always because the block adhesive was not fully cured; this yields no result at all and the specimen must be remade. The second is eccentric loading, which is easy to miss because it produces plausible-looking numbers that are simply low. The third is damage during cutting, particularly crushed honeycomb cells along the specimen edge. Beyond the laboratory, the most common analytical error is quoting a flatwise tensile strength without its failure mode, which loses the distinction between a core property and a bond quality — the two lead to entirely different corrective actions.
06Compare methods and find answers
ASTM C297 or ASTM C365
| ASTM C297 | ASTM C365 | |
|---|---|---|
| Direction of load | Tension through the thickness | Compression through the thickness |
| What usually fails | Core, or the facing-to-core bond | Core, by cell buckling |
| Loading blocks | Bonded, with universal joints | None — flat platens |
| Answers | Will the facing stay attached under peel and tension | Will the core carry local compressive load |
These are the two halves of a core's through-thickness behaviour and neither substitutes for the other. A core can be strong in compression and weak in tension, and it is the tensile case that governs facing debond.
Questions we are asked about this test
What is ASTM C297?
It is the ASTM method for the flatwise tensile strength of sandwich constructions. A specimen of the full panel thickness is bonded between two stiff loading blocks and pulled apart through its thickness. The result is the strength at which either the core itself or the bond between core and facing gives way.
Why does the failure mode matter so much?
Because the same number means different things depending on where it came from. Failure inside the core measures the core's own flatwise tensile strength. Failure at the interface measures the facing-to-core bond, which is a manufacturing property rather than a material one. And failure at a loading block measures the block adhesive, which means the test has to be repeated. Classifying the fracture is part of the result rather than a comment on it.
Why are universal joints necessary?
Because the specimen is short, stiff and brittle in this direction, so any eccentricity in the load path becomes bending across the section. Bending concentrates stress at one edge and the specimen fails there, early, at a load that describes the alignment rather than the panel. Self-aligning couplings at both ends are the only practical way to guarantee the load arrives as pure tension.
What adhesive should I use for the loading blocks?
Whatever is reliably stronger than the failure load you expect, and fully cured to its own schedule before testing. A film adhesive or a structural paste is usual. The commonest reason a C297 specimen is discarded is a block bond that let go first, and the commonest reason for that is testing before the adhesive has finished curing.
What does this test tell a designer?
Whether the facings will stay attached. A sandwich panel works because thin stiff facings are held apart by a light core, and everything depends on that connection surviving. Through-thickness tension arises wherever a facing is peeled — around fixings and inserts, at panel edges, under impact damage, and from moisture or thermal effects driving the facings apart. Flatwise tensile strength is the property that governs all of it.
Can I test a repaired or damaged panel?
Yes, and it is one of the more useful applications. Cutting specimens from a repair, or from around impact damage, gives a direct measure of whether the bond has been restored. What matters is recording exactly where each specimen came from, because a repaired panel is deliberately not uniform.
How do I cut the specimens without damaging the core?
With a fine-toothed blade running fast, or a water jet. Honeycomb and foam cores carry load through very thin walls, and a coarse saw tears them along the cut edge, leaving a starter crack in exactly the material being measured. On honeycomb it is also worth checking that the cut has not crushed cells at the edge, which shows as an early low result with no obvious cause.
Related
Materials tested to it
The test it standardises
Industries that test to it
Other standards explained
Planning ASTM C297 testing?
Discuss your specimen, test requirements and reporting needs with DAK engineering.
This page describes the method as practised. The governing text is the current edition from the issuing body. Tell us what you are testing and we will answer with the machine, the fixture and a quotation.