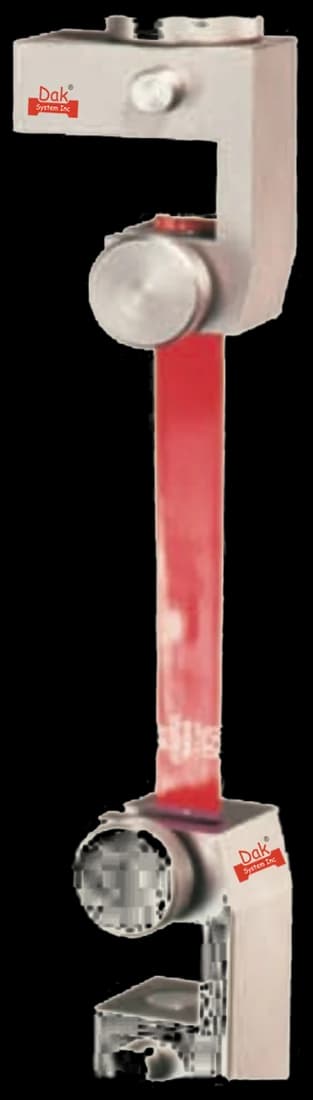
Rubber facedTJ-34
25mm Square Vice Action Grip
A 25 mm square vice grip matches the usual bead width, holding the mesh-reinforced strip without letting it draw.
Specifications
Testing standard
Standard Test Method for Adhesion-in-Peel of Elastomeric Joint Sealants
Written and technically reviewed by Dak System Inc. engineeringLast reviewed
ASTM C794 measures the peel adhesion of an elastomeric joint sealant to a substrate. A bead of sealant with wire mesh embedded in it is cured on the substrate, then peeled back at 180° at 50 mm/min. What matters most is not the force but the failure mode — whether the sealant let go of the substrate or tore within itself.
From the test method to your testing system
Explore the DAK machines already listed for ASTM C794, then review the grips, measurement and setup requirements below.
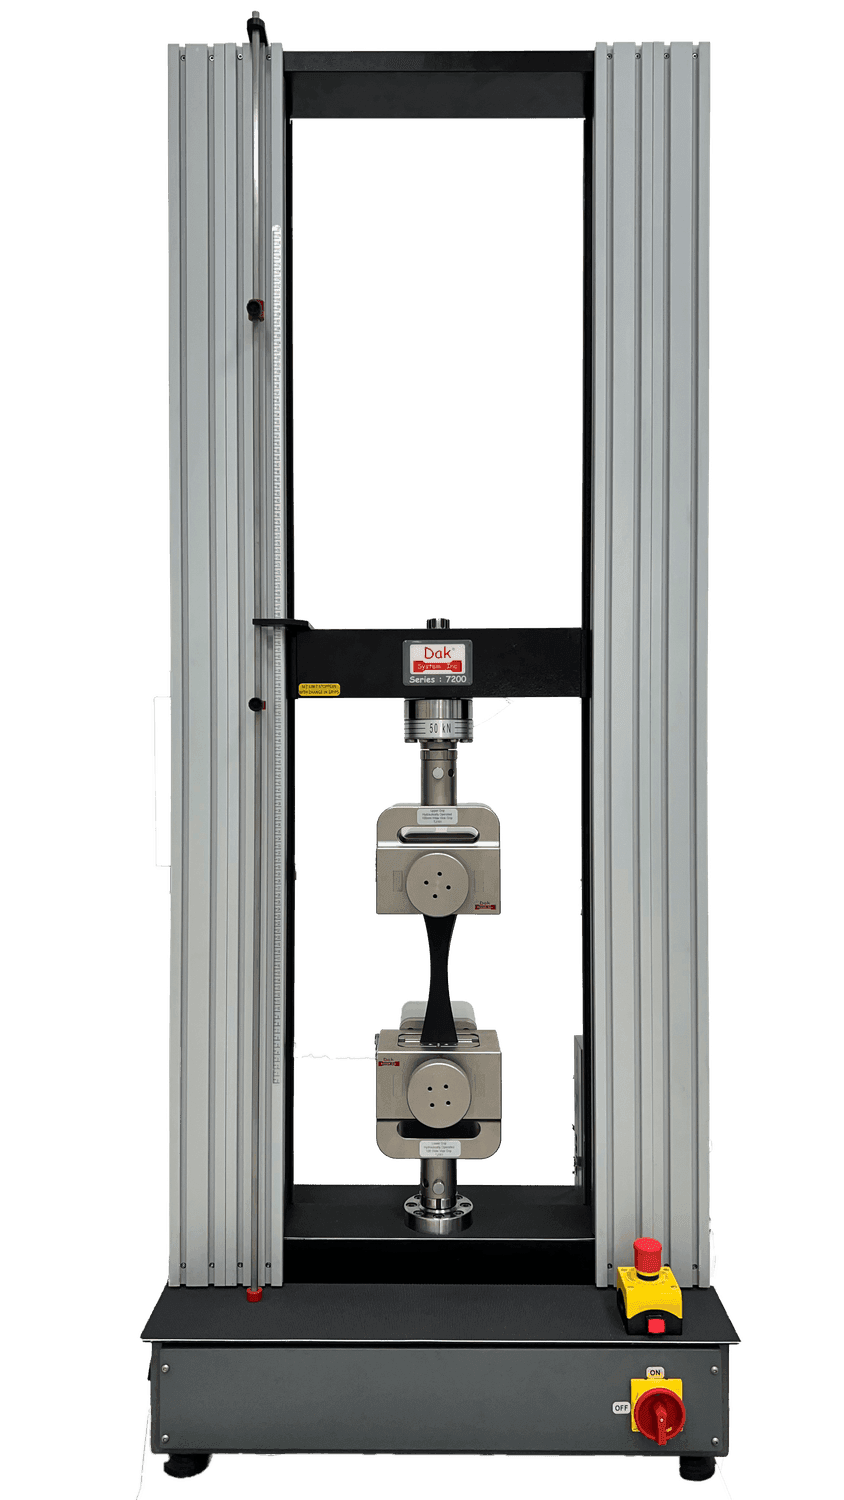 Universal Testing MachineSeries 7200Explore the machine →
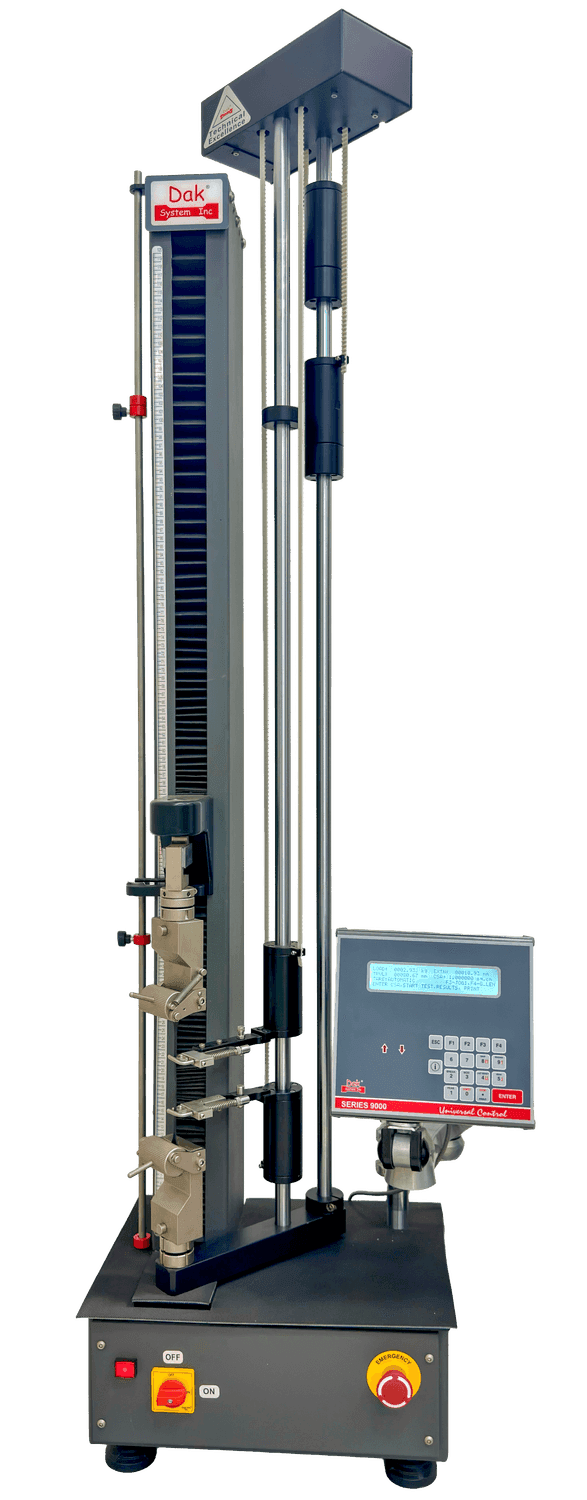 Universal Testing MachineSeries 9000Explore the machine →
01Understand the method
A substrate panel is prepared exactly as the sealant manufacturer specifies — cleaned, and primed with the flash-off time the primer requires. A bead of sealant is applied to it, commonly 25 mm wide, with a wire mesh embedded in the sealant so that the strip can later be pulled without simply stretching. The assembly is cured fully. A short length is then freed from the substrate, the panel is clamped in one grip and the mesh-reinforced strip in the other, and the strip is peeled back on itself at 180° at 50 ± 5 mm/min. Force is recorded, and the peeled surfaces are examined afterwards.
The method reports peel adhesion as force per unit width, and the proportion of the peeled area that failed at the substrate interface rather than within the sealant. The second of those is the real result. A sealed joint works when the sealant is bonded more strongly to the substrate than it is to itself, so that any overload tears the sealant rather than opening the bond — cohesive failure is the desired outcome, adhesive failure is not, and the recorded force cannot distinguish them. Because the method also covers water immersion and other exposures, it is the practical way to find out whether a bond that works dry survives the wet.
02Prepare the specimen and test settings
The specimen is made rather than cut, and almost everything that decides the result happens before any load is applied.
The failure mode is the result. Cohesive failure — the sealant tearing within itself — means the bond is stronger than the sealant and is the desired outcome. Adhesive failure at the substrate means the bond is the weak link, whatever the recorded force.
03Build the test setup on a DAK machine
Very small forces measured well: peel forces are commonly between ten and a couple of hundred newtons over a 25 mm bead, so a load cell sized for structural work will report them as noise. Accuracy over that low range matters more than capacity. The crosshead must hold 50 mm/min steadily and have enough travel to peel a useful length after discarding the start transient. Grips need to hold a soft, tacky, mesh-reinforced strip without letting it draw, which favours a constant-force pneumatic grip over a screw-tightened one that keeps bedding in as the sealant relaxes under the jaws.
A 25 mm square vice grip matches the usual bead width, holding the mesh-reinforced strip without letting it draw.
Specifications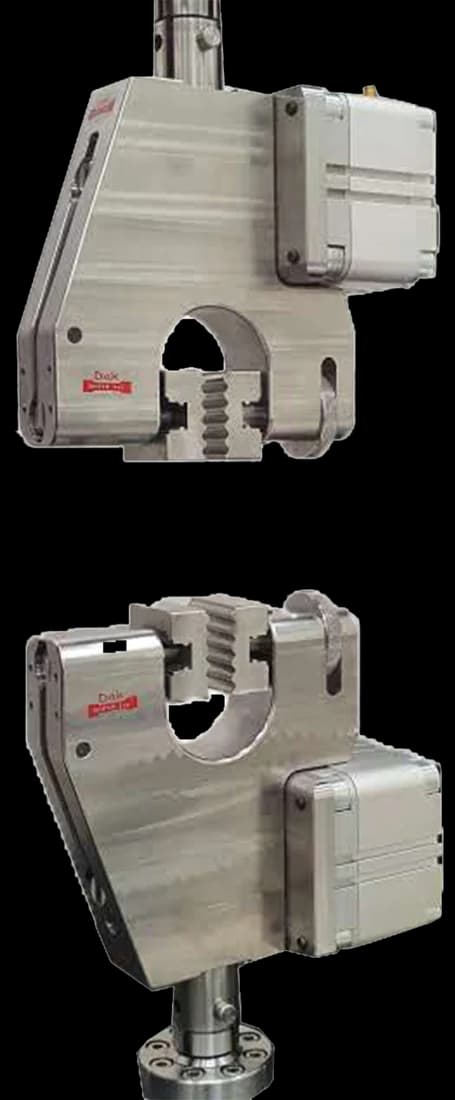
Pneumatic actuation gives a constant clamping force on a soft, tacky strip that a screw grip would keep bedding into during the peel.
SpecificationsDak verifies against whichever standard the method names, and where a class applies our frames sit a class tighter than it asks.
| The method asks for | Dak supplies | |
|---|---|---|
| Capacity | Very low — commonly 10 N to 200 N over a 25 mm bead width | Load cells from 1 kg to 60 ton on the Series 7200, and 0.5 to 100 kN on the Series 9000 |
| Force accuracy | unknown — ASTM E4 is not among this method's referenced documents, which name no force-verification standard and no accuracy class | ISO 7500-1 Class 0.5 — the method sets no class of its own |
| Gripping | Tensile grips holding the substrate and the embedded wire mesh, arranged for a 180° peel | Our peel and adhesion fixtures, built to the specimen |
| Environment | 23 ± 2 °C and 50 ± 5 % RH for standard conditioning; water immersion and other exposures are part of the method | 3009 series chambers, −150 °C to +400 °C — temperature only |
Selecting equipment for this method? Construction chemical testing machines and fixtures.
04Run the test
05Calculate, report and interpret
Peel adhesion = average peel force / bead width
Reported as force per unit width. The average must come from the steady region, since the start of any peel is a transient.
Proportion of the peeled area that failed at the substrate interface
Estimated by inspection and reported alongside the force. A high peel force with substantial adhesive failure is a worse result than a lower force with none.
Testing before the sealant has fully cured gives a low result that describes the cure state rather than the product, and it is the commonest laboratory error. Failing to record the primer and its flash-off time makes a result unreproducible, and since primer is so often the difference between passing and failing, it is the first thing anyone investigating a failure will ask for. Reporting a peel force without the failure mode loses the most important part of the answer. And comparing an exposed set against a control from a different batch or a different day introduces a difference that has nothing to do with the exposure.
06Compare methods and find answers
| ASTM C794 | ASTM C719 | |
|---|---|---|
| Loading | Peel, at 180° | Cyclic extension and compression of a joint |
| Specimen | Bead on a substrate with wire mesh | A simulated joint between two substrates |
| Answers | Does the sealant stick, before and after exposure | Does the sealant survive joint movement |
| Duration | Short | Weeks, with cycling |
These test different things and both are normally required. C794 finds an adhesion problem quickly and cheaply; C719 finds whether the sealant can accommodate the movement the joint will actually see. A sealant can pass one and fail the other.
It is the ASTM method for adhesion-in-peel of elastomeric joint sealants. A sealant bead with wire mesh embedded in it is cured on a substrate, then peeled back on itself at 180° at 50 mm/min. The method reports the peel force per unit width and, critically, the proportion of the peeled area that failed at the substrate rather than within the sealant.
Because an elastomeric sealant on its own would simply stretch when pulled rather than peel. The mesh reinforces the strip so that the load is delivered to the peel front instead of being absorbed by the sealant extending, which is what makes a controlled peel possible. Without it there would be no consistent peel line and no meaningful force to record.
Because they answer different questions. Cohesive failure — the sealant tearing within itself — means the bond to the substrate is stronger than the sealant, which is exactly what a sealed joint needs. Adhesive failure at the interface means the bond is the weak link and the joint will eventually open there, regardless of how high the recorded force was. A high force with substantial adhesive failure is a worse result than a lower force with none.
Because that is where sealant adhesion actually fails. Many sealant-substrate combinations bond perfectly well when dry and lose adhesion after prolonged wetting, as water reaches the interface and displaces the bond. A joint in a building façade is wet for much of its life, so the dry result alone is not predictive. Comparing a control set with a water-immersed set from the same batch is the core of the method.
It is frequently the difference between passing and failing, and it is the most common cause of a disputed result. Primer type, coverage and flash-off time all matter, and a primer applied too thinly, too thickly or overcoated before it has flashed off will not perform. The report has to record what was used and how long it was left, because a C794 result without that information cannot be reproduced or acted on.
No. Adhesion is a property of the sealant-substrate pair, not of the sealant alone, and the differences between substrates are large. A sealant that bonds excellently to anodised aluminium may need a primer on concrete and a different one on coated steel. Each substrate in a project needs its own test, which is why sealant manufacturers publish adhesion data as a matrix rather than a single figure.
No. C794 answers whether the sealant sticks, quickly and cheaply, and it is the right first test. It does not answer whether the sealant can accommodate the movement the joint will see, which is what ASTM C719 addresses over weeks of cyclic extension and compression. Both are normally required, and a sealant can pass one and fail the other.
Discuss your specimen, test requirements and reporting needs with DAK engineering.
This page describes the method as practised. The governing text is the current edition from the issuing body. Tell us what you are testing and we will answer with the machine, the fixture and a quotation.