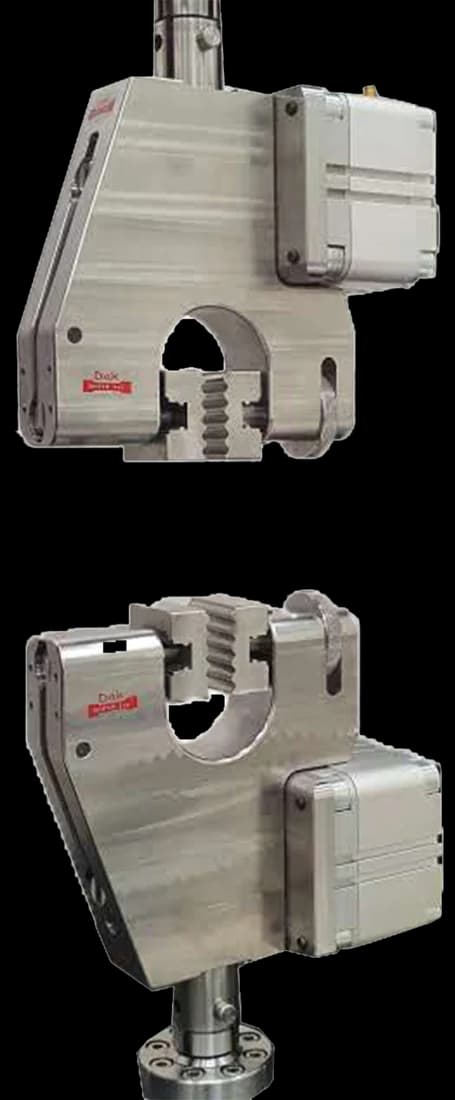
Standard 25 mm
Pneumatic Vice Action Grip
Pneumatic vice action grips hold the full specimen width at an even pressure, which matters here because a seam loaded unevenly begins failing at one end and the peak force is lost.
Specifications
Testing standard
Textiles — Seam tensile properties of fabrics and made-up textile articles
Written and technically reviewed by Dak System Inc. engineeringLast reviewed
ISO 13935 measures the seam tensile properties of fabrics and made-up articles. A specimen containing a seam is pulled perpendicular to it until the seam fails, and the maximum force is reported together with how it failed. Part 1 uses a full-width strip on a 200 mm gauge at 100 mm/min; Part 2 uses a grab geometry on a 100 mm gauge at 50 mm/min. In most garments the seam is weaker than the fabric, which is why this test exists.
From the test method to your testing system
Explore the DAK machines already listed for ISO 13935-1 / -2, then review the grips, measurement and setup requirements below.
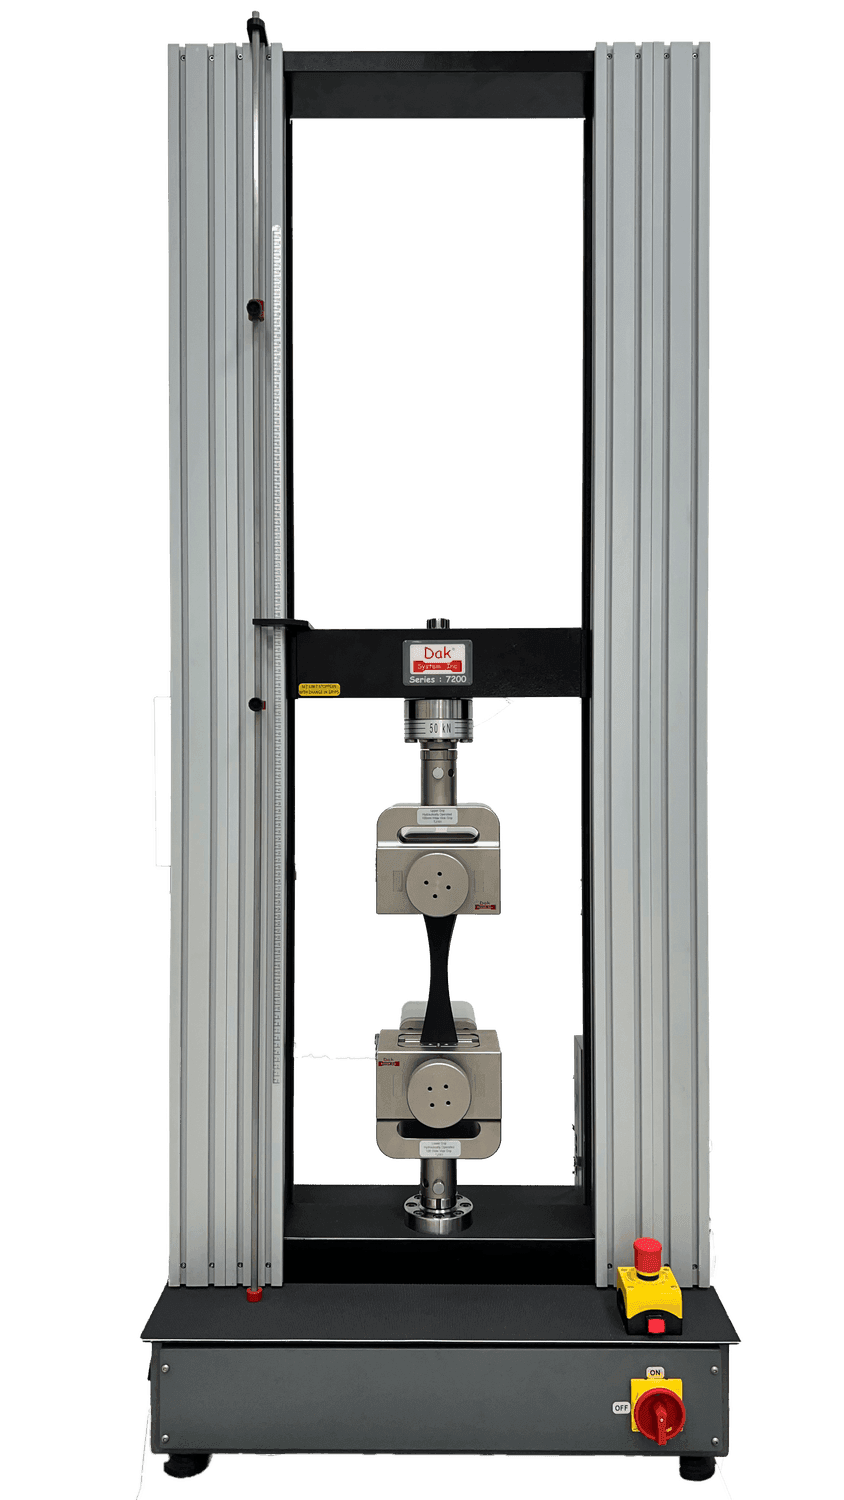 Universal Testing MachineSeries 7200Explore the machine →
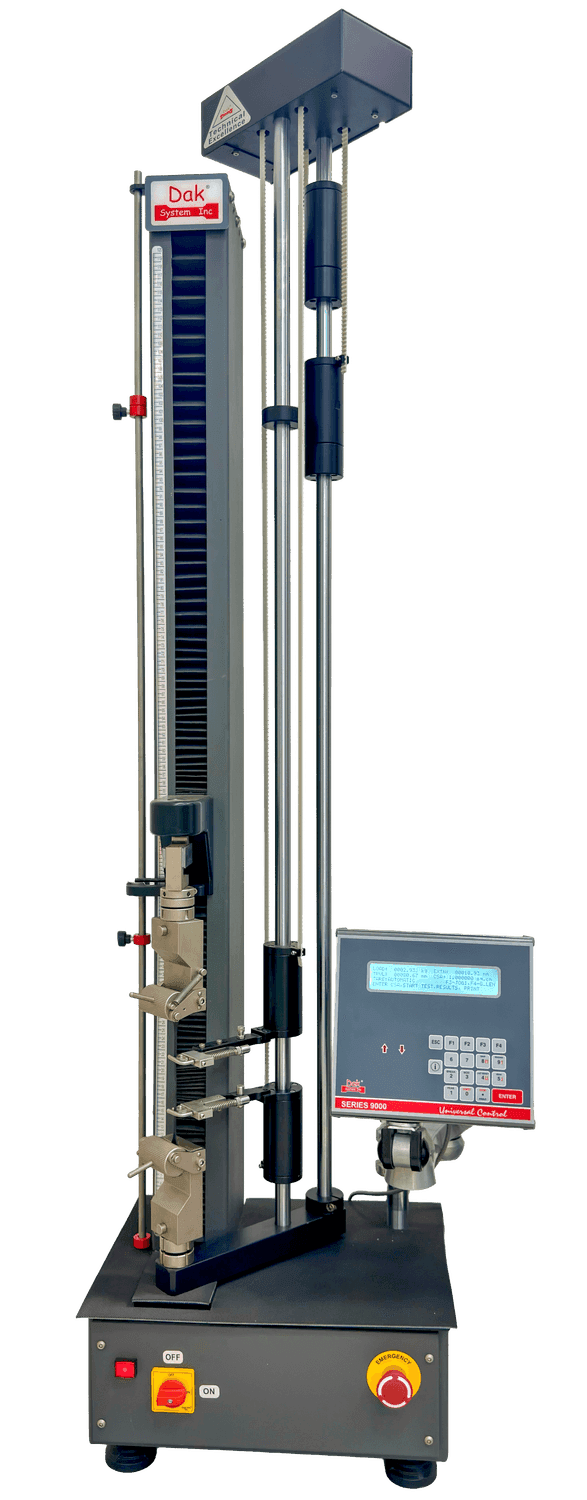 Universal Testing MachineSeries 9000Explore the machine →
01Understand the method
A specimen containing a seam is prepared so that the seam runs perpendicular to the direction of pull and sits midway between the grips. Under Part 1 the full specimen width is clamped in flat-faced grips; under Part 2 narrower grab jaws hold the centre of a wider specimen. A small pretension removes slack, and the crosshead separates at a constant rate: 100 mm/min over a 200 mm ± 1 mm gauge under Part 1, and 50 mm/min over a 100 mm ± 1 mm gauge under Part 2, each rate held to ±10 %. Force is recorded until the seam fails, and the maximum force is reported. The way it failed is recorded alongside: thread rupture, seam slippage, stitch pull-out, or rupture of the fabric itself.
The result is the maximum seam force and the mechanism of failure. It matters because a made-up textile article almost never fails in the middle of a panel — it fails at a seam. Sewing perforates the fabric, concentrates load into discrete stitch holes and introduces a discontinuity into an otherwise continuous material, so the seam is usually the weakest element in the product. Expressed against the fabric's own strength as a seam efficiency, the figure tells a manufacturer how much of the material they paid for is actually available in the finished article, and where to spend effort to recover the rest.
02Prepare the specimen and test settings
The seam is the specimen. Everything about how it was sewn — thread, stitch type, stitch density, seam allowance — is a variable, and none of it can be reconstructed afterwards.
The failure mode is the finding. Seam slippage, thread rupture, stitch pull-out and fabric rupture each point at a different cause and a different fix, and a maximum force reported without the mode leaves the most useful part of the test unreported.
03Build the test setup on a DAK machine
Force measurement to ISO 7500-1 Class 1 across a range from a hundred newtons or so to several kilonewtons, and a crosshead holding 100 mm/min to ±10 % over a 200 mm gauge for Part 1, or 50 mm/min over a 100 mm gauge for Part 2. Where force is captured by data acquisition, the sampling frequency must be at least eight readings per second. Grips must clamp the full specimen width evenly for Part 1, which favours pneumatic actuation, and must present the correct jaw geometry for Part 2. Alignment matters in a particular way here: the seam has to sit square to the pull and midway between the jaws, because a seam that is skewed or close to a grip begins failing at one end and the peak force is never developed. The laboratory needs the textile standard atmosphere.
Pneumatic vice action grips hold the full specimen width at an even pressure, which matters here because a seam loaded unevenly begins failing at one end and the peak force is lost.
Specifications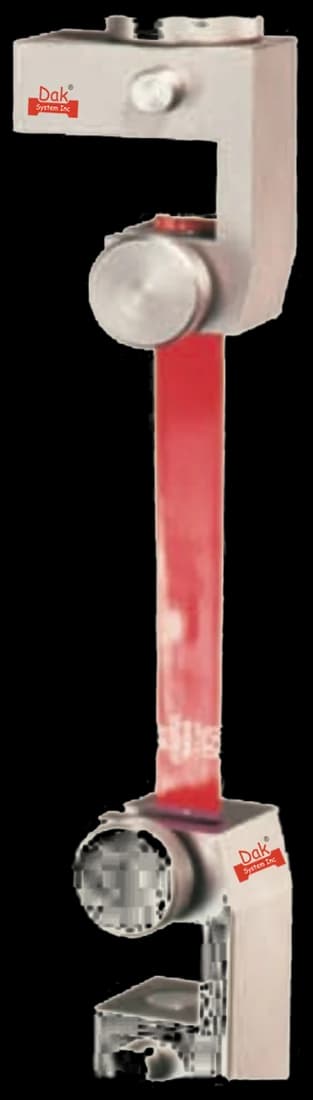
A 25 mm square vice grip provides the grab geometry Part 2 specifies.
SpecificationsDak verifies against whichever standard the method names, and where a class applies our frames sit a class tighter than it asks.
| The method asks for | Dak supplies | |
|---|---|---|
| Capacity | Low to moderate — commonly 100 N to 3 kN depending on fabric and seam construction | Load cells from 1 kg to 60 ton on the Series 7200, and 0.5 to 100 kN on the Series 9000 |
| Force accuracy | ISO 7500-1 Class 1 over the working range | ISO 7500-1 Class 0.5 — a class tighter than the method asks |
| Gripping | Flat-faced grips — full-width strip clamping for Part 1, or 25 mm grab jaws for Part 2 | Wedge, vice-action, pneumatic and hydraulic grips, built to the specimen |
| Environment | 20 ± 2 °C and 65 ± 4 % RH, the textile standard atmosphere | 3009 series chambers, −150 °C to +400 °C — temperature only |
04Run the test
05Calculate, report and interpret
The maximum force recorded before seam failure, in N
Reported as a force for the stated specimen geometry, not normalised to a width.
Seam efficiency = maximum seam force / fabric breaking force × 100
A useful derived figure where the fabric's own breaking force is known from ISO 13934 on the same material. It says how much of the fabric's strength the seam preserved.
Reporting a maximum seam force without the failure mode is the commonest and most costly error, because the mode is what says which change will help — thread rupture, slippage, pull-out and fabric rupture each point to a different fix, and the force alone distinguishes none of them. Skewed or off-centre seams give low results that look like poor sewing. Failing to record the seam construction makes a result unrepeatable even in the same laboratory. And comparing Part 1 with Part 2 figures, or with a fabric strip result, mixes geometries that are not convertible.
06Compare methods and find answers
| Part 1 — strip | Part 2 — grab | |
|---|---|---|
| Clamping | Full specimen width | Narrower jaws on a wider specimen |
| Load distribution | Even across the seam | Concentrated, with surrounding fabric assisting |
| Typical result | Lower | Higher |
| Best for | Comparing seam constructions | Quick acceptance testing of made-up articles |
As with fabric tensile testing, the strip and grab geometries give different numbers on the same seam and cannot be converted between. A specification naming one part is not satisfied by running the other.
It is the ISO standard for seam tensile properties of fabrics and made-up textile articles. A specimen containing a seam is pulled perpendicular to that seam until it fails, and the maximum seam force is reported along with the failure mode. Part 1 uses a strip geometry with the full width clamped; Part 2 uses a grab geometry.
Because in most made-up articles the seam is the weakest element. Sewing perforates the fabric, concentrates load into the thread and the stitch holes, and introduces a discontinuity in an otherwise continuous material. A garment, a bag or a technical textile assembly nearly always fails at a seam rather than in the middle of a panel, so the fabric's own strength is not what governs the product.
Thread rupture means the sewing thread was the weak link — use a stronger thread. Seam slippage means the fabric yarns pulled away from the stitching rather than anything breaking, which points to a loose weave or too small a seam allowance. Stitch pull-out means the stitches tore through the fabric, often from too high a stitch density perforating the material. Fabric rupture means the seam was stronger than the fabric, which is usually the desired outcome.
The maximum seam force expressed as a percentage of the fabric's own breaking force, measured on the same material to ISO 13934. It says how much of the fabric's strength the seam preserved. It is a more useful comparative figure than seam force alone, because a seam force of 500 N is excellent on a light fabric and poor on a heavy one.
It depends what you are asking. A laboratory-sewn seam made to the specification tests whether the specification is adequate. A seam cut from actual production tests what was really made — including thread substitutions, machine tension drift and operator variation. The two frequently disagree, and where a product has failed in the field it is the production seam that holds the answer.
Because it works against itself. Too few stitches per centimetre and the load concentrates on each one, causing pull-out or thread rupture. Too many and the needle perforates the fabric so often that it becomes a line of holes, weakening the material along exactly the line that is being loaded. There is an optimum for every fabric and thread combination, and this test is how it is found.
No. As with fabric tensile testing, the strip and grab geometries distribute load differently — in the grab test the fabric outside the jaws assists — so the same seam gives a higher number under Part 2. There is no conversion factor, and a specification naming one part is not satisfied by running the other.
Discuss your specimen, test requirements and reporting needs with DAK engineering.
This page describes the method as practised. The governing text is the current edition from the issuing body. Tell us what you are testing and we will answer with the machine, the fixture and a quotation.